

How to Set Up Your IQOS Device : Complete Guide
IQOS, a heat-not-burn tobacco device, has revolutionized the smoking alternative market by offering a cleaner, smoke-free experience for smokers. Unlike traditional cigarettes, IQOS heats tobacco rather than burning it, reducing harmful chemicals and providing a satisfying tobacco flavor. While the device is designed to be user-friendly, proper setup is crucial to ensure optimal performance, battery life, and overall experience. This guide provides step-by-step instructions and tips on setting up your IQOS device for the first time, ensuring a seamless transition to a healthier smoking alternative.
Step 1: Unboxing Your IQOS Device
Before you begin using your IQOS device, it is essential to familiarize yourself with its components. Most IQOS devices come in a kit that includes the following:
-
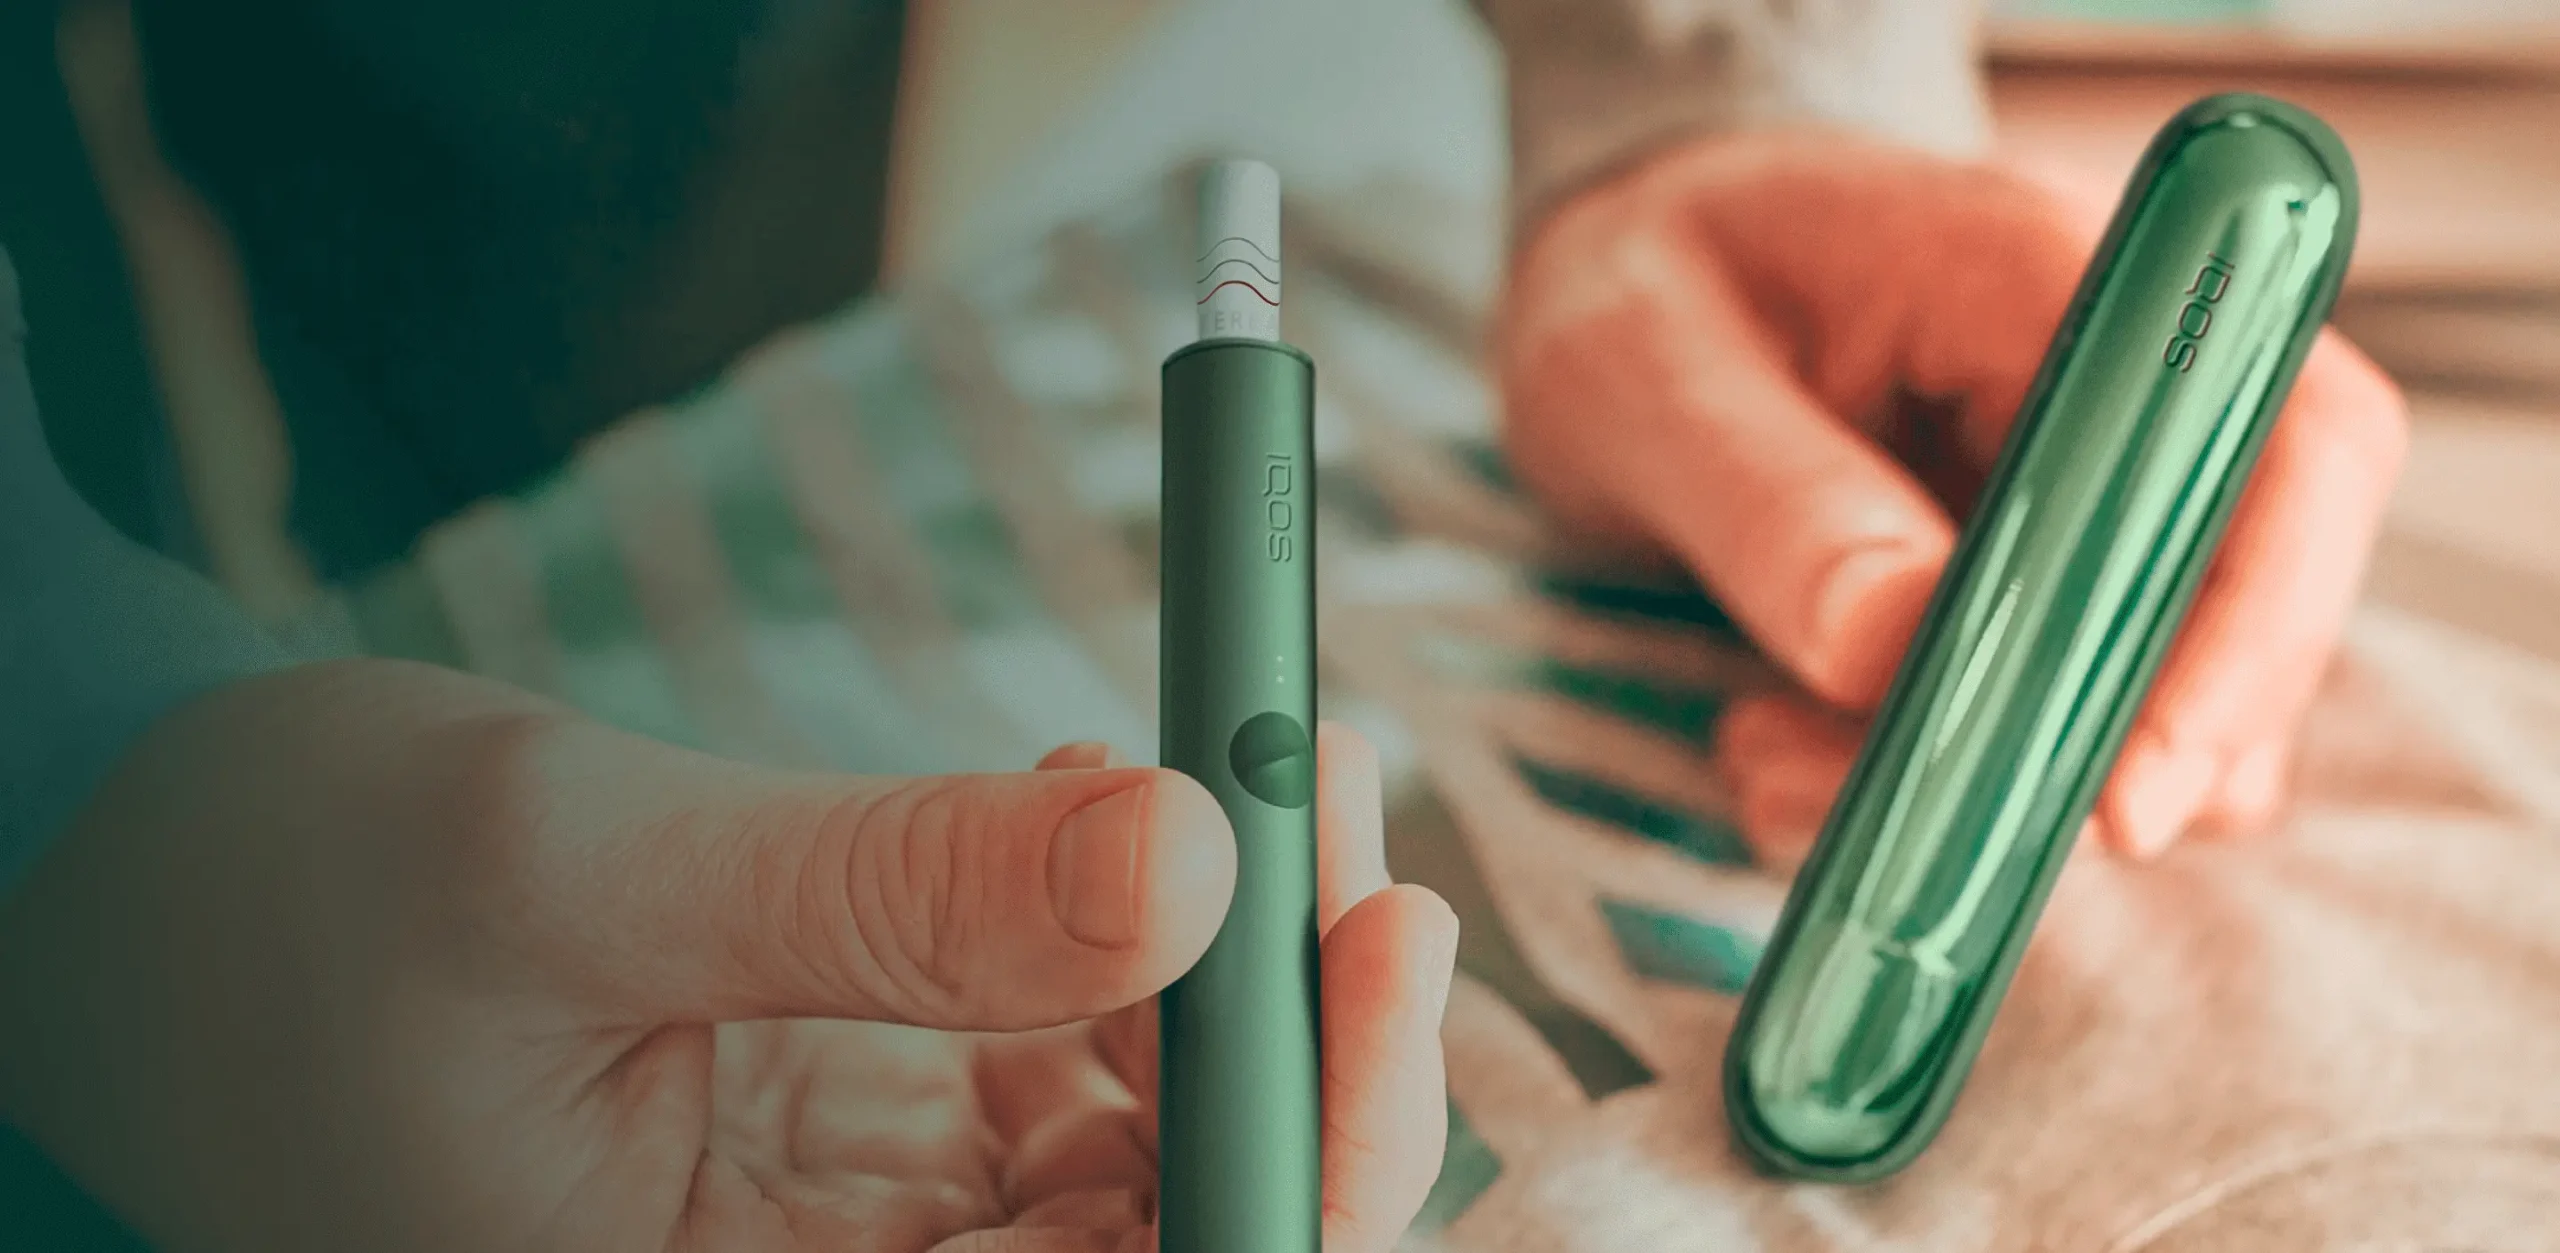
IQOS Holder: The small, pen-shaped component that heats the tobacco stick.
-
IQOS Charger (Pocket Charger): The larger case that recharges the holder.
-
Power Cable and Adapter: Used to charge the pocket charger.
-
Cleaning Tools: Small brushes or sticks to clean the holder after use.
-
User Manual: Provides instructions specific to your IQOS model.
Take a few minutes to inspect all components and ensure that nothing is damaged. Charging the device before first use is recommended, as most IQOS devices ship with a partially depleted battery.
Step 2: Charging the Pocket Charger
The first step in preparing your IQOS device is charging the pocket charger, which in turn charges the holder. To do this:
-
Plug the provided USB-C cable into the adapter and connect it to a power source.
-
Insert the other end of the cable into the charging port on the bottom of the pocket charger.
-
Wait until the LED lights on the device indicate that it is fully charged. Depending on the model, this may take between 90 minutes to 2 hours.
Charging the pocket charger first ensures that the holder can achieve a full charge for its initial use. A fully charged holder is essential for a consistent and optimal tobacco heating experience.
Step 3: Charging the IQOS Holder
Once the pocket charger is fully charged, it is time to charge the IQOS holder.
-
Remove the holder from the packaging.
-
Insert the holder into the pocket charger. Make sure it is seated correctly; it should slide in smoothly and the LED lights on the pocket charger will indicate charging status.
-
Charging usually takes around 3-5 minutes for a single session, though the first full charge may take slightly longer.
-
When the LED light on the holder turns solid, it indicates that the holder is fully charged and readyfor use.
Proper charging of the holder is critical because undercharging can result in weak vapor production or incomplete heating of tobacco sticks.
Step 4: Selecting the Right Tobacco Sticks
IQOS devices are compatible with specially designed HEETS or HeatSticks, which are tobacco sticks engineered to work with the heating system. Choosing the right flavor and nicotine strength is part of the setup process.
-
Open the pack of HEETS or HeatSticks.
-
Insert a tobacco stick gently into the IQOS holder. Ensure it is inserted straight and that the stick reaches the heating blade without forcing it.
-
Do not twist or push aggressively, as the heating element is delicate and can break.
Using the correct tobacco sticks designed for IQOS is essential for safety and optimal flavor. Using other tobacco products may damage the device or provide an unsatisfactory experience.
Step 5: Turning On the Device
Once the holder is fully charged and the tobacco stick is inserted, you can turn on your IQOS device.
-
Press and hold the button on the holder for about 2 seconds until the LED light begins to blink.
-
Blinking lights indicate that the device is heating the tobacco. This process usually takes 20-30 seconds.
-
Once the LED turns solid, the device has reached the optimal temperature and is ready for use.
It is important to wait until the device reaches full temperature to ensure even heating and maximum flavor from the tobacco stick.
Step 6: Using the IQOS Device
After the device has reached the optimal temperature:
-
Gently inhale through the mouthpiece, drawing vapor rather than smoke.
-
The device is designed for short, controlled puffs similar to smoking a cigarette. Avoid long, aggressive draws, which may overheat the tobacco or reduce flavor.A single stick typically provides 14-16 puffs, lasting about 6 minutes. The holder will automatically turn off when the session ends.
IQOS is designed to deliver a smooth, consistent experience that mimics the feel of a cigarette without combustion.
Step 7: Removing and Disposing of Tobacco Sticks
After your session, it is essential to remove the used tobacco stick carefully:
-
Open the holder and gently push out the used HEETS stick.
-
Dispose of it responsibly in a trash bin. Do not attempt to reuse the stick, as it will be depleted and may damage the holder.
Proper disposal is part of maintaining hygiene and ensuring your IQOS device remains in good condition.
Step 8: Cleaning the IQOS Device
- Regular cleaning of the holder is crucial for optimal performance. Residual tobacco particles can accumulate on the heating blade, affecting taste and functionality. Most IQOS devices come with a cleaning tool:
-
Ensure the holder is cool before cleaning.
-
Use the brush or cleaning sticks provided to remove tobacco residue gently.
-
Avoid applying excessive pressure on the heating blade to prevent damage.
-
Perform cleaning after every 20-30 sessions for best results.
Maintaining a clean device prolongs its lifespan, enhances flavor, and ensures smooth operation.
Step 9: Charging Between Sessions
The IQOS holder is designed for multiple uses between charges, but the pocket charger allows for quick recharging.
-
Insert the holder back into the pocket charger after each session.
-
Keep the pocket charger plugged in as needed to maintain a full charge.
-
A fully charged pocket charger can often recharge the holder multiple times before the charger itself needs recharging.
Regular charging ensures that your IQOS device is always ready when you need it.
Step 10: Understanding LED Indicators
IQOS devices use LED indicators to communicate battery status and operational conditions:
-
Blinking Light: Device is heating or battery is low.
-
Solid Light: Device is ready to use or fully charged.
-
Flashing Red Light: There is an error, such as a stuck heating blade or a misaligned stick.
Familiarizing yourself with these signals helps prevent misuse and ensures consistent performance.
Step 11: Safety Precautions
Proper setup is not complete without understanding essential safety precautions:
-
Always use only IQOS-approved tobacco sticks.
-
Avoid dropping the holder or charger, as internal components are delicate.
-
Do not expose the device to extreme temperatures or moisture.
-
Keep the device out of reach of children and pets.
-
Follow manufacturer guidelines for charging and cleaning to prevent damage.
Observing these precautions ensures longevity and safe use of the device.
Step 12: Troubleshooting Common Issues
Even with proper setup, users may encounter minor issues:
-
Holder Not Heating: Ensure the holder is charged and the tobacco stick is inserted correctly.
-
Burnt Taste: Remove residual particles and clean the holder thoroughly.
-
Device Not Turning On: Fully recharge both the holder and pocket charger, and check for debris blocking contacts.
Most problems can be resolved through simple maintenance and careful handling.
Conclusion
Setting up your IQOS device correctly is essential for a smooth, safe, and satisfying experience. From unboxing and charging to inserting tobacco sticks, understanding LED indicators, and maintaining the device through cleaning, each step contributes to optimal performance. Following these instructions ensures consistent flavor, proper vapor production, and a prolonged lifespan for your IQOS device.